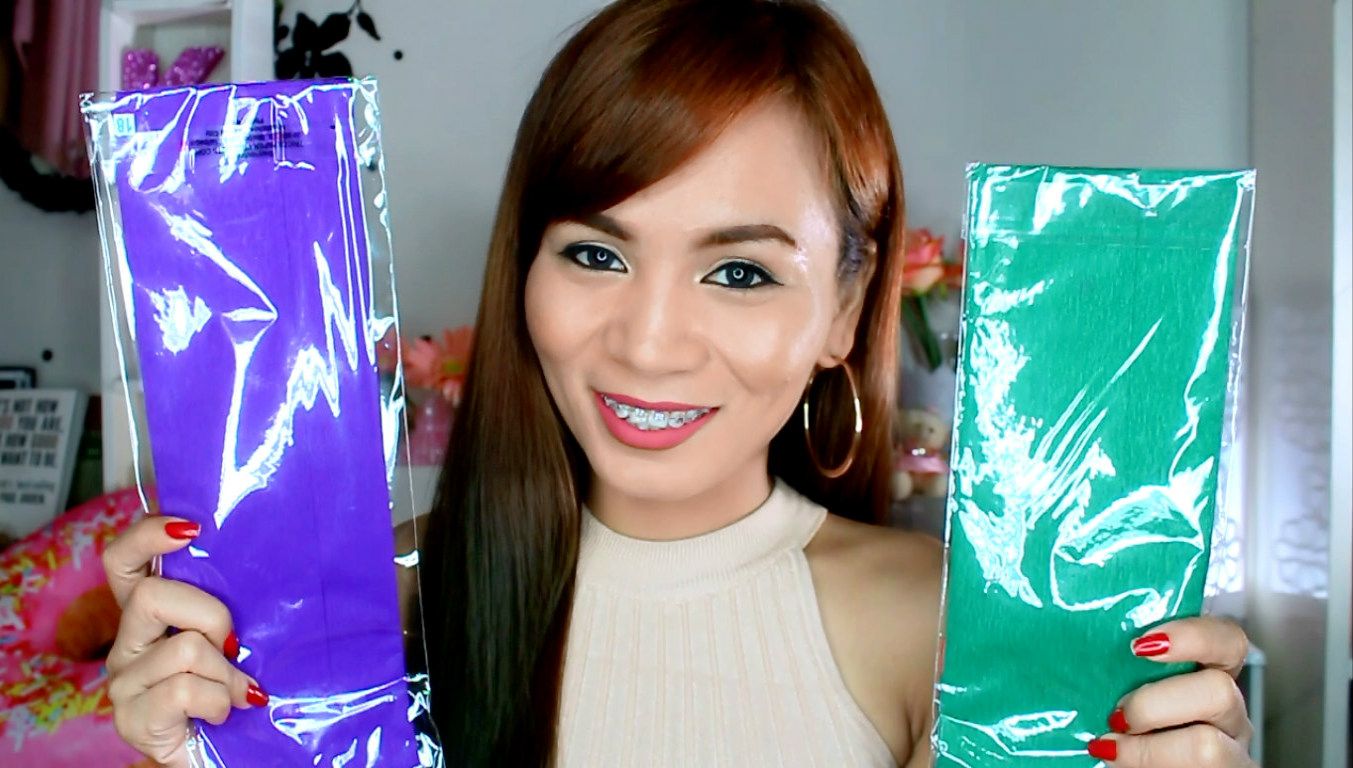
In case you haven't heard yet, coloring your hair using Crepe Paper is the newest fad! Ombre Blue and Puple or Green-tipped hair, anyone? This inexpensive school supply has got us covered! For only Php 10 each, you can now say hello to in-trend, ombre hair!

I just love inexpensive, D.I.Y. hacks like this! And the best thing about this is that it is not permanent. I mean, I wouldn't want purple tips for 6 months or a year! As a blogger, I have to consider that my purple hair won't go well with a red polka dot print dress. Hehe
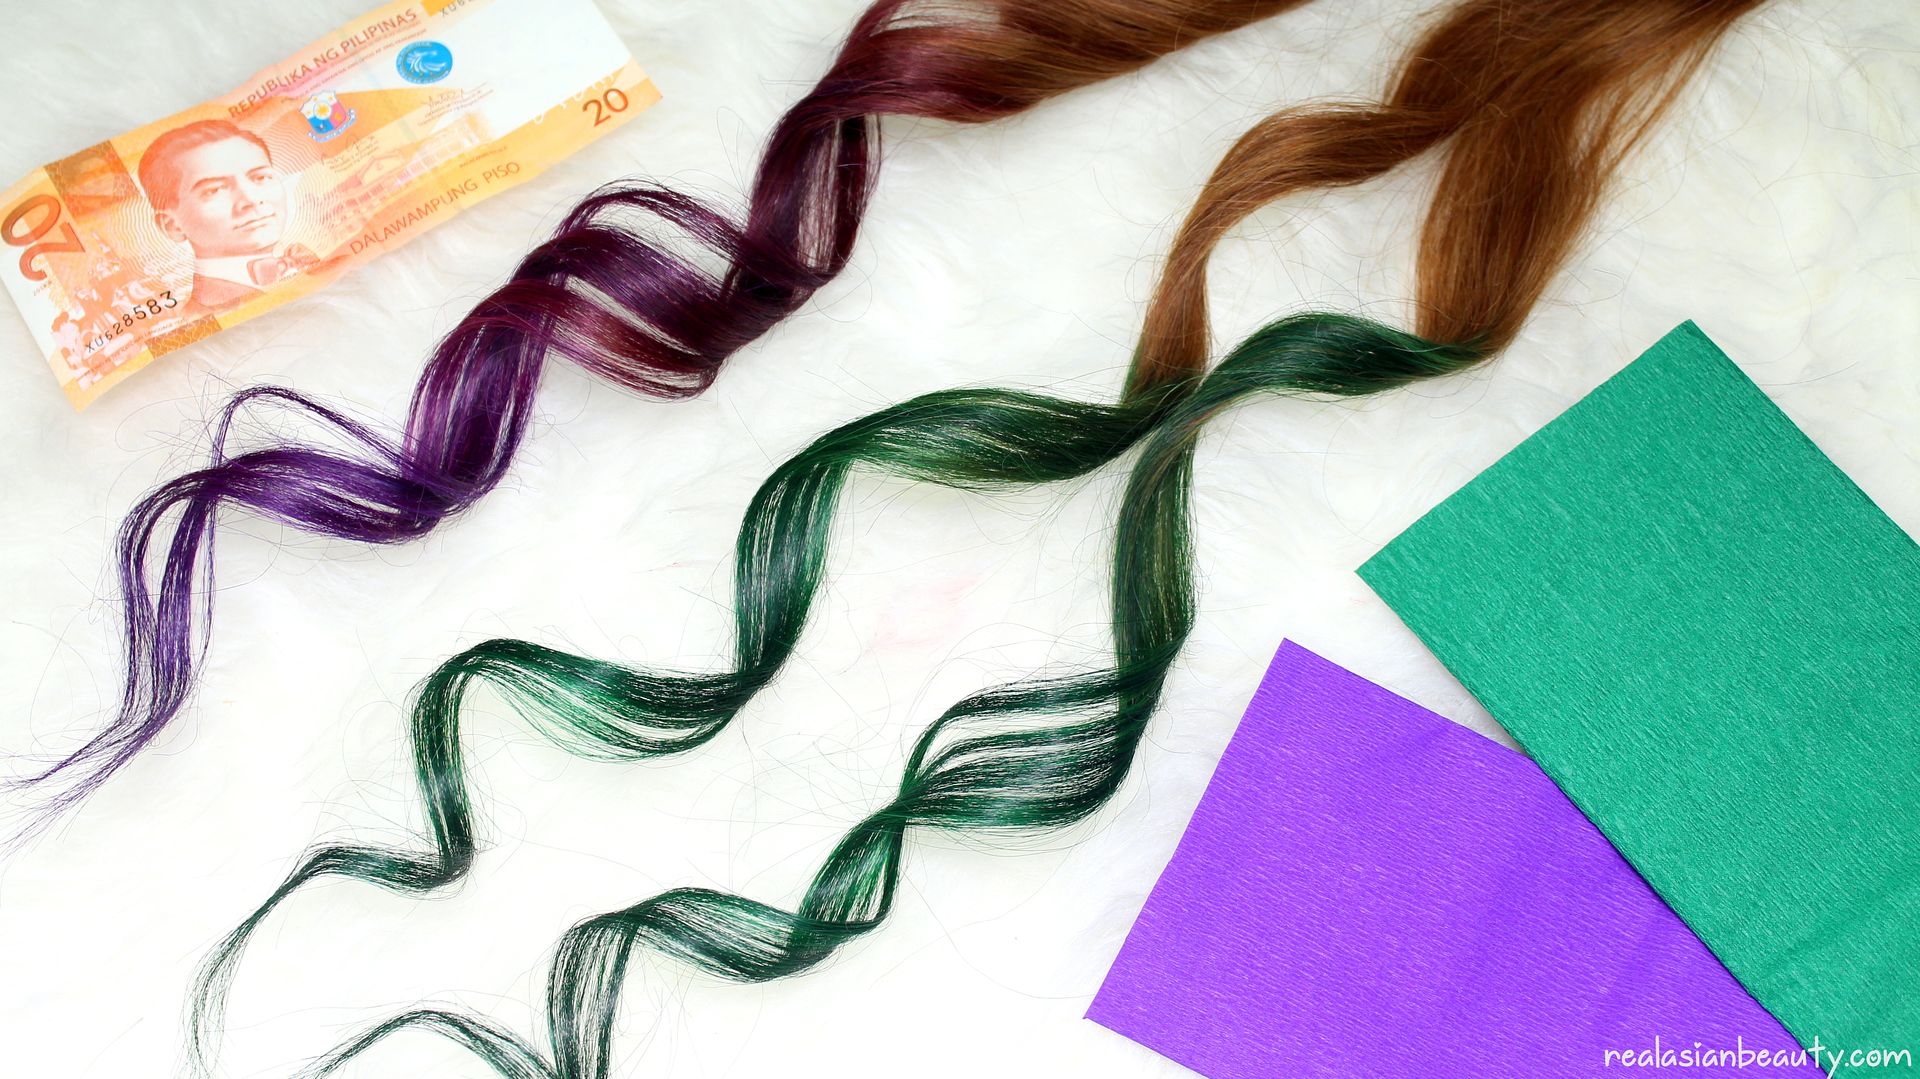
Using Crepe Paper to dye your hair would give you vibrant hair color for 2 weeks maximum! I say, that is just perfect if you want to try something new for a short period of time or want to look extra-special for an occasion. And the best part? You won't have to spend too much! Php 20 is all you need!

Please watch the video for the full CREPE PAPER Hair Color Tutorial!
Frequently Asked Questions :
1.) Where can I buy crepe paper?
- I got mine from National Bookstore. If you are not from the Philippines, check your local bookstore, art supply store or stationery store.
2.) Is Crepe Paper same as party streamers?
- If you are pertaining to THIS, then my answer is YES.
3.) What is the salt for?
- The salt helps the dyeing process to make the color bond more to your hair. If you are afraid this would damage your hair, feel free to skip this step.
4.) Is it permanent?
- Using Crepe Paper to color your hair is NOT permanent and will eventually wash off.
5.) How long will it last?
- For people that have normal hair, the color lasts up to 5 days. Since my hair is coarse and chemically-treated, the green color lasted 2 weeks.
6.) I have black hair, will this work?
- I am afraid it won't work, especially if you have "virgin" hair that has never been dyed nor treated before.
7.) How do I get rid of the color?
- The color will fade overtime. But if you want to get rid of it before waiting for it to naturally fade, then you can go ahead and color the tips of your hair the same color as the roots.
8.) I'm 10, can I color my hair with this? | Will it damage my hair?
- Yes, baby girl! This WILL damage your hair! Since they use chemicals to dye the crepe paper, you are also basically using toxic to dye your hair. 10 is too young to try anything harsh. Please go ahead and appreciate the natural color and smoothness of your hair. :)
9.) Should I shampoo my hair after?
-After soaking the hair for 15-30 minutes, rinse your hair and use your favorite conditioner to tame the dryness and prevent damage. Skip shampoo so the color sets and does not fade.
10.) Will it stain my clothes/pillows?
- After the first wash, dry your hair completely before using any white or light fabric. After drying, it won't stain fabrics anymore. But just to be sure, use dark or black fabrics until the next day.
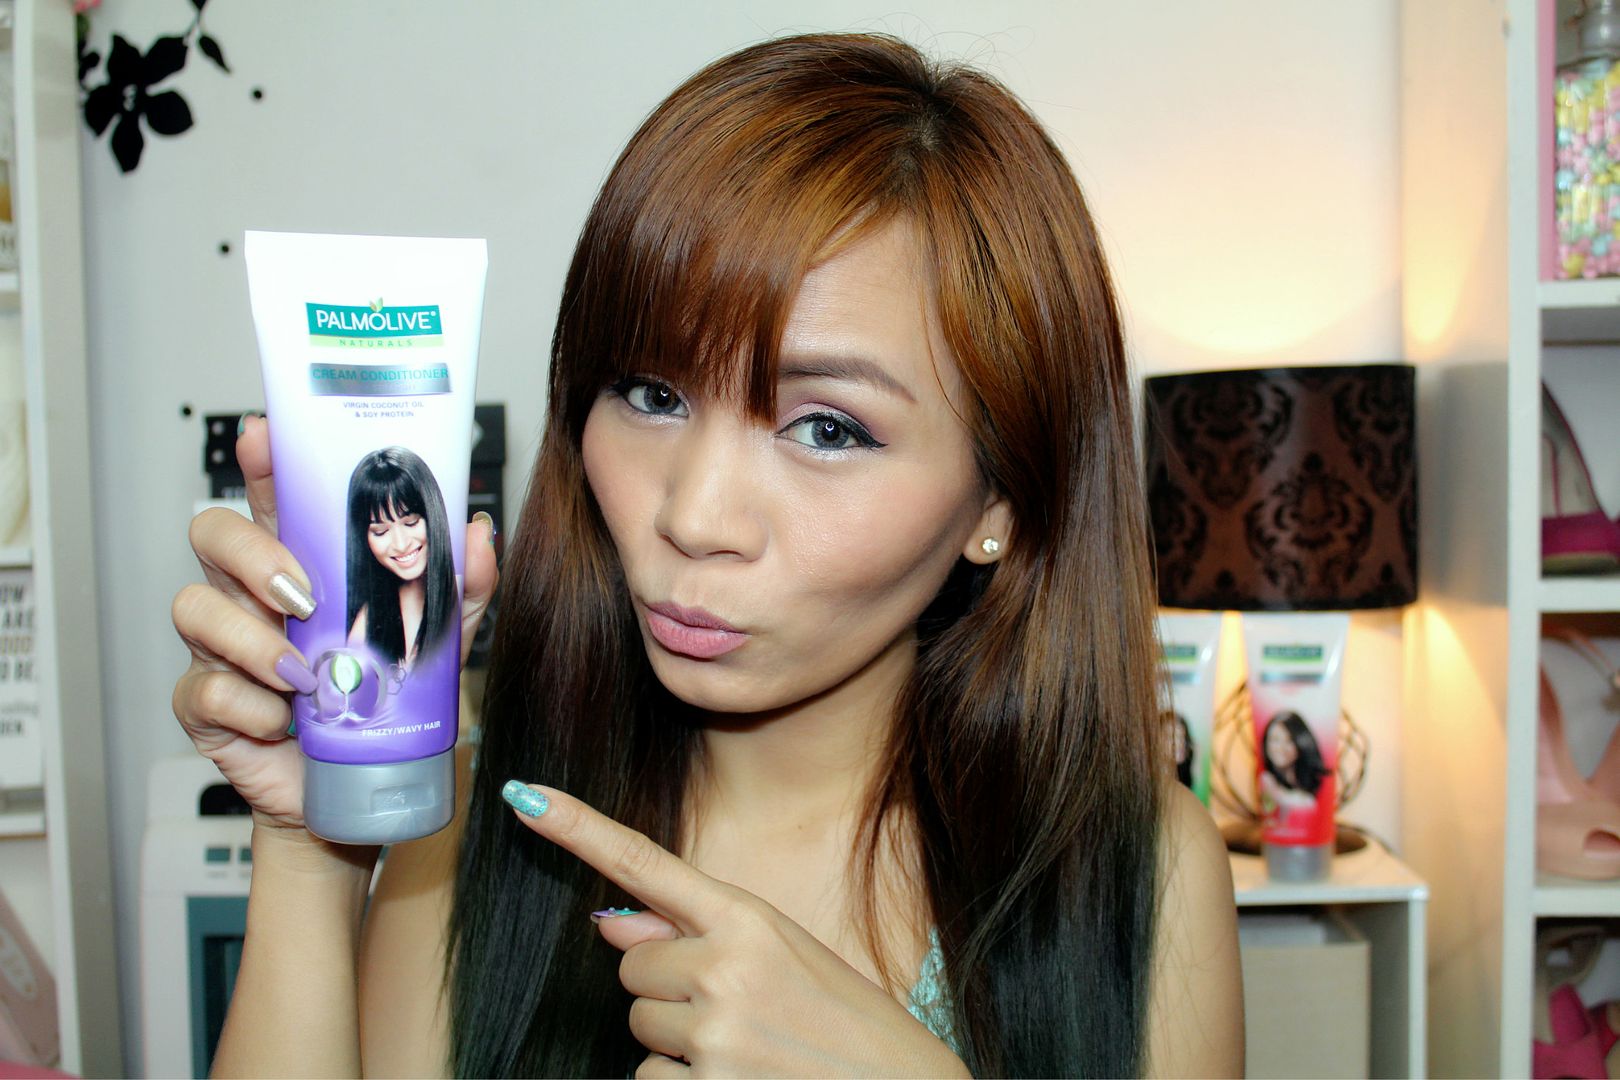
In case you were wondering what conditioner I used, I used my new favorite Palmolive Naturals Cream Conditioner! Yay! Have you watched the video I made regarding this product? If you haven't yet, please watch it HERE.

Here's how my hair looks in PURPLE!

Since my roots are in BROWN, Purple tips look a bit awkward. I also wondered why the ends became black instead of the vibrant purple that I wanted. Because I was so frustrated, I decided to dye the tips in Green the next day! I know, I know, that's torture to my hair.... But Brown>Purple>Black is just unflattering!
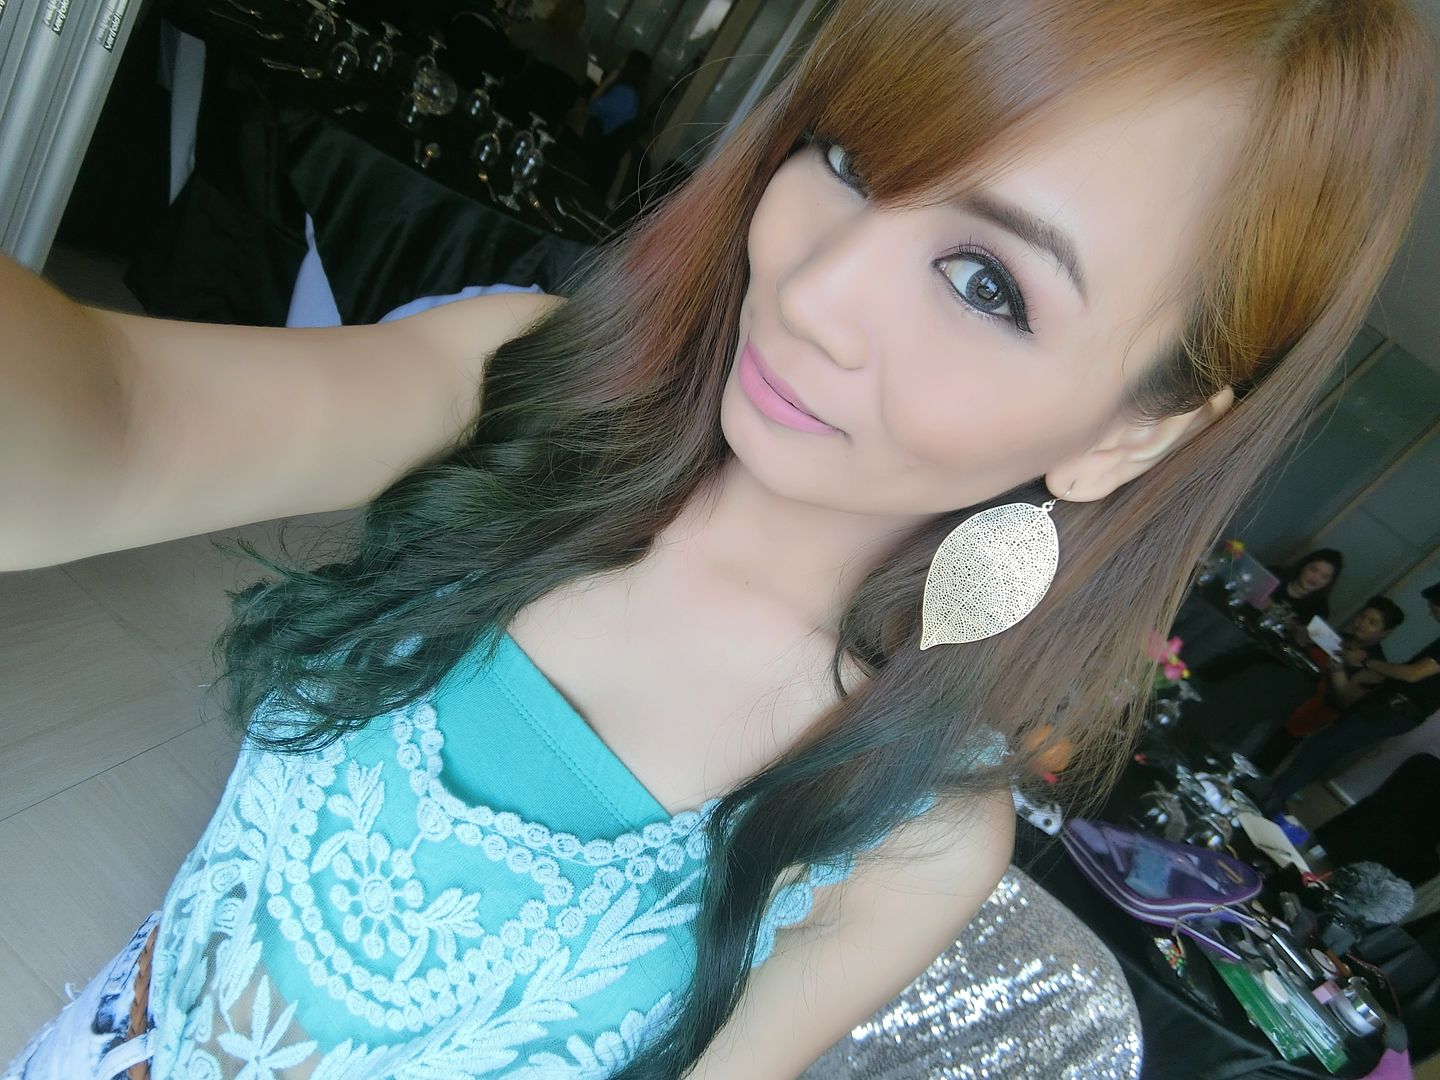
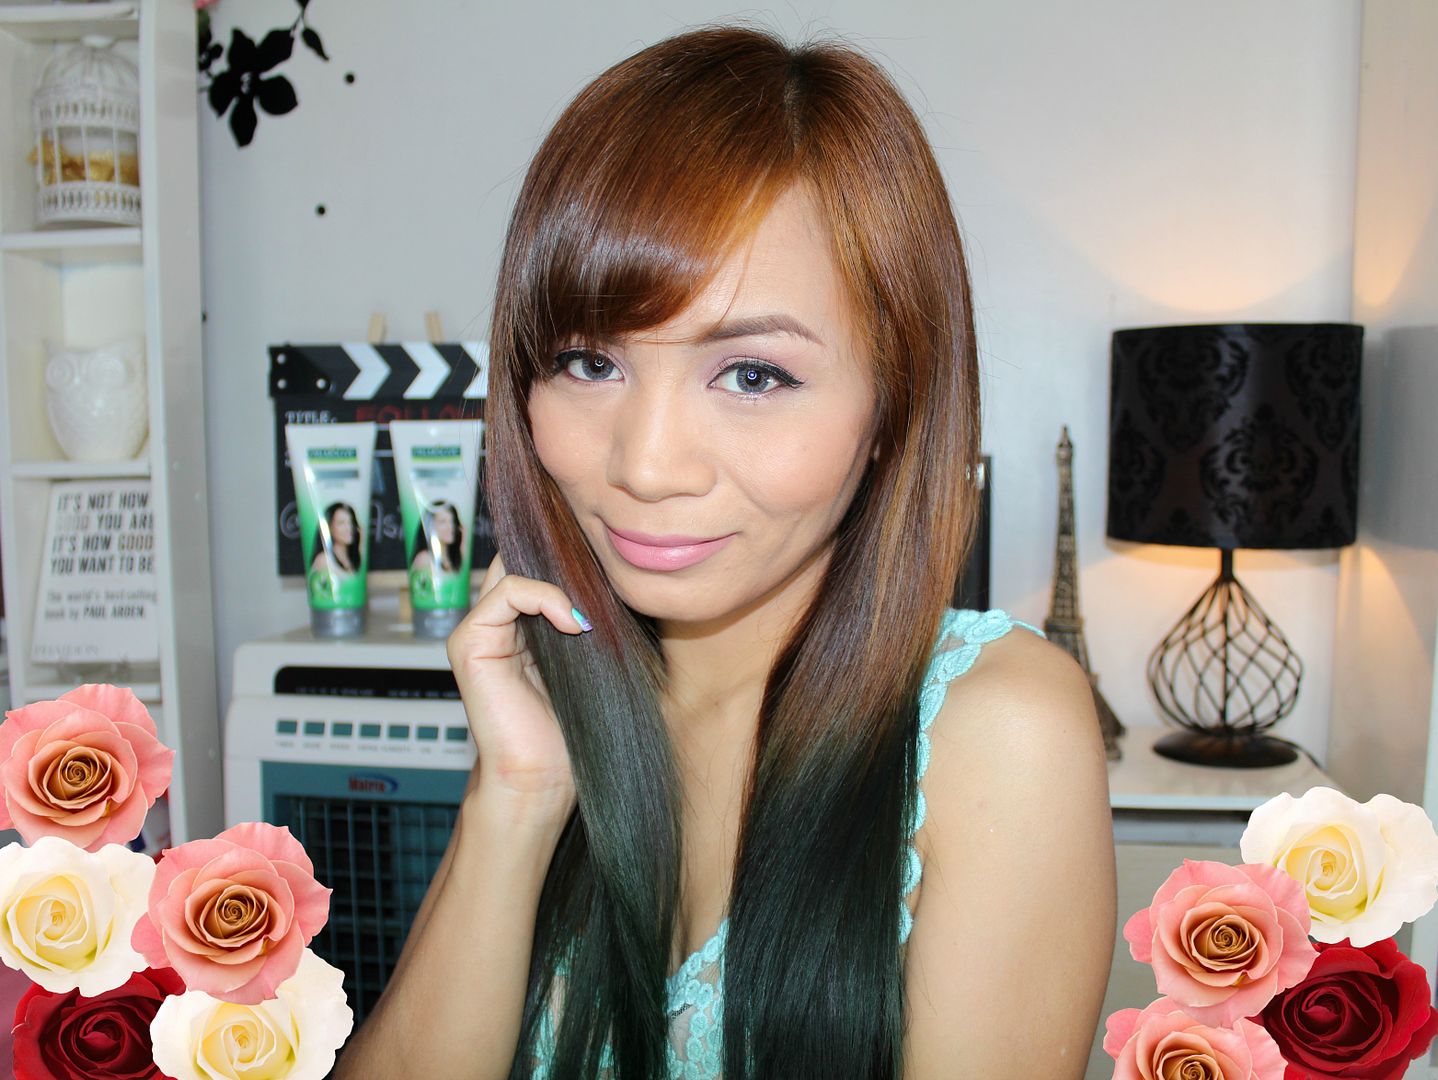
Then, I dyed my hair in GREEN! And the result was satisfying! No wonder, most people that dye their hair using crepe paper use green as well. Aside from the fact that it transfers the color to the hair easily, it is also the color that compliments brown the most!

I love this D.I.Y. ombre hair color hack! I recommend this to people that want to try something new but don't have the courage to stick with it for months and months. It is also a great way for people to touch-up their ombre purple, green or blue hair without having to spend thousands at a salon again!

Thank you so much for reading our blog today!
Let me know if you have tried this or if you would be willing to dye your hair using a school material.
If so, which color would you pick?
I just love inexpensive, D.I.Y. hacks like this! And the best thing about this is that it is not permanent. I mean, I wouldn't want purple tips for 6 months or a year! As a blogger, I have to consider that my purple hair won't go well with a red polka dot print dress. Hehe
Using Crepe Paper to dye your hair would give you vibrant hair color for 2 weeks maximum! I say, that is just perfect if you want to try something new for a short period of time or want to look extra-special for an occasion. And the best part? You won't have to spend too much! Php 20 is all you need!
Please watch the video for the full CREPE PAPER Hair Color Tutorial!
Frequently Asked Questions :
1.) Where can I buy crepe paper?
- I got mine from National Bookstore. If you are not from the Philippines, check your local bookstore, art supply store or stationery store.
2.) Is Crepe Paper same as party streamers?
- If you are pertaining to THIS, then my answer is YES.
3.) What is the salt for?
- The salt helps the dyeing process to make the color bond more to your hair. If you are afraid this would damage your hair, feel free to skip this step.
4.) Is it permanent?
- Using Crepe Paper to color your hair is NOT permanent and will eventually wash off.
5.) How long will it last?
- For people that have normal hair, the color lasts up to 5 days. Since my hair is coarse and chemically-treated, the green color lasted 2 weeks.
6.) I have black hair, will this work?
- I am afraid it won't work, especially if you have "virgin" hair that has never been dyed nor treated before.
7.) How do I get rid of the color?
- The color will fade overtime. But if you want to get rid of it before waiting for it to naturally fade, then you can go ahead and color the tips of your hair the same color as the roots.
8.) I'm 10, can I color my hair with this? | Will it damage my hair?
- Yes, baby girl! This WILL damage your hair! Since they use chemicals to dye the crepe paper, you are also basically using toxic to dye your hair. 10 is too young to try anything harsh. Please go ahead and appreciate the natural color and smoothness of your hair. :)
9.) Should I shampoo my hair after?
-After soaking the hair for 15-30 minutes, rinse your hair and use your favorite conditioner to tame the dryness and prevent damage. Skip shampoo so the color sets and does not fade.
10.) Will it stain my clothes/pillows?
- After the first wash, dry your hair completely before using any white or light fabric. After drying, it won't stain fabrics anymore. But just to be sure, use dark or black fabrics until the next day.
In case you were wondering what conditioner I used, I used my new favorite Palmolive Naturals Cream Conditioner! Yay! Have you watched the video I made regarding this product? If you haven't yet, please watch it HERE.
Here's how my hair looks in PURPLE!

Since my roots are in BROWN, Purple tips look a bit awkward. I also wondered why the ends became black instead of the vibrant purple that I wanted. Because I was so frustrated, I decided to dye the tips in Green the next day! I know, I know, that's torture to my hair.... But Brown>Purple>Black is just unflattering!
Then, I dyed my hair in GREEN! And the result was satisfying! No wonder, most people that dye their hair using crepe paper use green as well. Aside from the fact that it transfers the color to the hair easily, it is also the color that compliments brown the most!
I love this D.I.Y. ombre hair color hack! I recommend this to people that want to try something new but don't have the courage to stick with it for months and months. It is also a great way for people to touch-up their ombre purple, green or blue hair without having to spend thousands at a salon again!
Thank you so much for reading our blog today!
Let me know if you have tried this or if you would be willing to dye your hair using a school material.
If so, which color would you pick?


")


